Positioning
When deciding where to mount your Konnected board, you need to consider the location of your wires, power, and wifi signal strength. If you’re retrofitting an old alarm system panel, you may want to mount the board inside the panel, but be aware that the metal enclosure will adversely affect the wifi signal strength.
To prevent wifi signal loss, you may want to leave the door off of the alarm panel, or consider mounting the Konnected board outside of the alarm panel enclosure.
Checking Wifi Signal
To check the Wifi signal strength (after you’ve added the device), open the SmartThings app and go to Automation -> SmartApps -> Konnected -> scroll down and Tap to view device status -> scroll down to view the Wifi signal strength. You should aim for at least 50% wifi signal strength for reliable function.
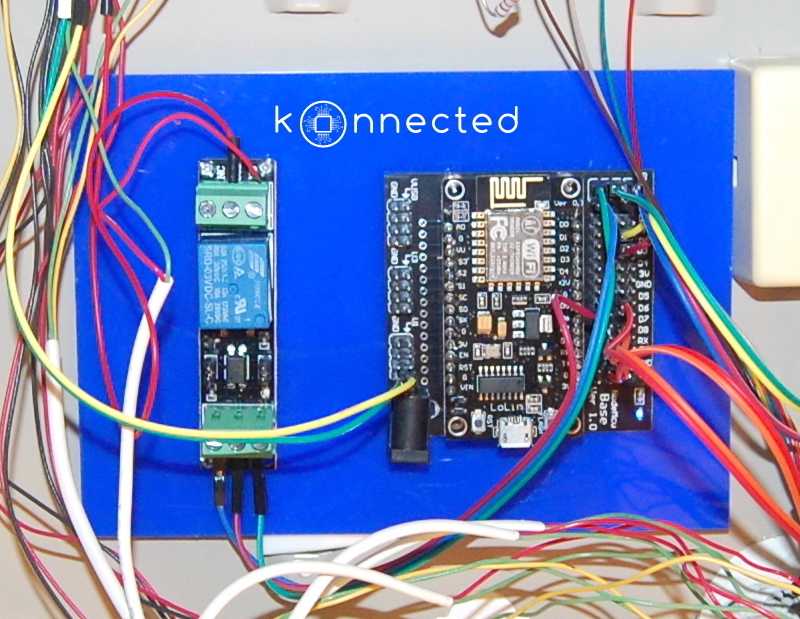
Mounting
You can mount the Konnected components on any non-conductive surface. We sell DIY Mounting Kits in our store which contain a blue acrylic or plexiglass board that works nicely as an attractive mounting surface. The board can easily then be mounted anywhere using double-sided mounting tape or mounting hardware.
Mounting Kit Instructions
-
Position the components on the board to your liking and use a pen or sharp tool to mark the location of each mounting hole
-
Use a 3/32” (or 2.5mm) drill bit to drill smaller holes for the relay board
-
Use a 1/8” (or 3.2mm) drill bit to drill holes for the NodeMCU board(s)
-
Remove the protective film on both sides of the acrylic sheet
-
Position the components on the board, secure with screws, and hand-tighten nuts on the opposite side.